For more guidance, follow the detailed step-by-step instructions.
What you need before you start
- Your Apple device (iPad, iPhone or iPod Touch) updated to the latest version of the mobile operating system (iOS).
- The device must be connected to the Internet.
- You need a Bell Aliant email address and password. If you do not know your email address or password, please contact us.
Follow these easy steps
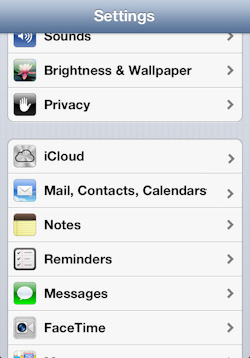
- From the Apple device Home Screen tap Settings.
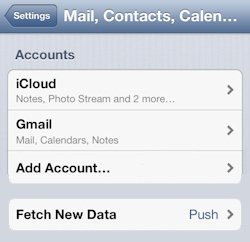
- Tap Mail, Contacts, Calendars.
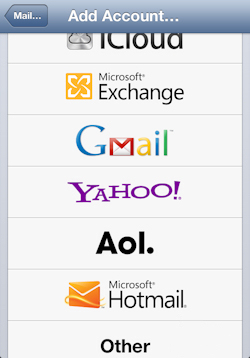
- Tap Add Mail Account.
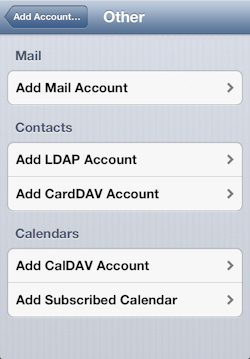
- A list of mail service options will be provided. Tap Other.
- Tap Add Account.
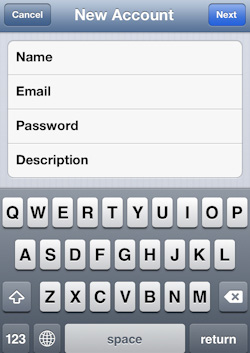
- Enter your the following information:
- Name: Enter the name you want to display in your outgoing emails i.e. John Smith
- Email: Your Bell Aliant email address i.e. [email protected]
- Password: Your Bell Aliant email password
- Description: Enter a description for your new account i.e. John’s Account
- Tap Next.
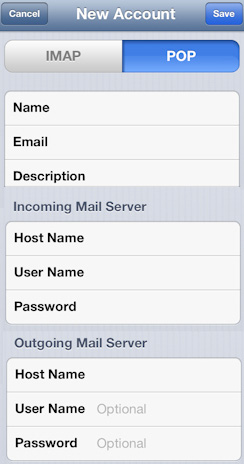
- Under the IMAP heading, tap the IMAP heading and confirm your name, email address and description.
- In the Incoming Mail Server section enter your Bell Aliant email settings:
- Host Name: imap.bellaliant.net
- User Name: Enter your Bell Aliant email address i.e. [email protected]
- Password: Should already contain information,but if the field is empty, enter your Bell Aliant email password
- In the Outgoing Mail Server section enter your Bell Aliant email settings:
- Host Name: smtpa.bellaliant.net
- User Name: If the field is empty enter your Bell Aliant email address i.e. [email protected]
- Password: Should already contain information,but if the field is empty, enter your Bell Aliant email password
- Tap Save.
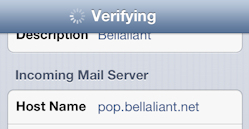
- The Email app will respond with a Verifying message.
- Tap Yes on the message box: Cannot Connect Using SSL. Do you want to try setting up your account without SSL?
Note: It can take up to several minutes for the verification process to finish and the message box to appear.
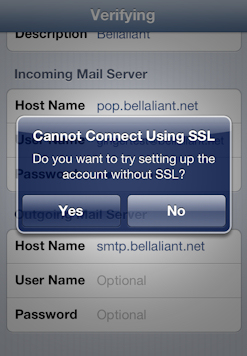
- Tap Yes if the Cannot Connect Using SSL. Do you want to try setting up your account without SSL? message box reappears
- Tap OK on the message box: The SMTP server “smtpa.bellaliant.net” is not responding. Check your network connection ..."
- On the New Account screen, tap Next
- Tap Save on the new message box: This account may not be able to send or receive emails. Are you sure you want to save?
- On the IMAP screen, tap Save
- On the Accounts screen locate and tap your new email account
- In the Outgoing Mail Server section tap SMTP
- In the Primary Server section tap smtpa.bellaliant.net
- Server should be set to ON. If Server is turned OFF, Tap the Server ON/OFF switch
- In the Outgoing Mail Server section, confirm your settings.
- Host Name: smtpa.bellaliant.net
- Password: Your Bell Aliant email password
- User Name: If empty enter your Bell Aliant email address i.e. [email protected]
- Use SSL: OFF
- Authentication: Password
- Server Port: 2225
- Tap Done
- Tap Account
- Tap Advanced
- Scroll down to Incoming Setting and set Server Port to 143
- Tap the button with the name of your email account
- Tap Done