For quick reference, use the following checklist to configure Windows Mail for the first time. For more guidance, follow the detailed step-by-step instructions.
What you need before you start
- An installed copy of Windows Live Mail.
- You need a Bell Aliant email address and password. If you do not know your email address or password, please contact us.
Follow these easy steps
- Launch the Windows Live Mail program.
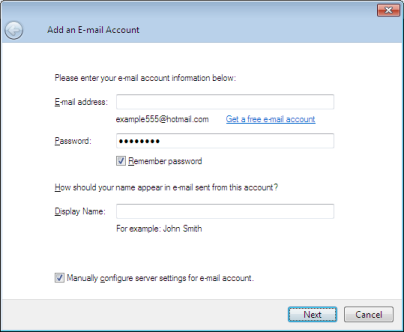
- You will be required to enter the following information to Add an Email Account:
- Note: If the account wizard doesn’t open, click Email on the Accounts tab)
- Email Address: Your Bell Aliant email address.
- Password: Your Bell Aliant email password.
- To save your email password, click Remember this password
- Display Name: Name you want to display on your outgoing emails. i.e. John Smith
- Place a check mark in the box beside Manually configure server settings for email account.
- Click Next.
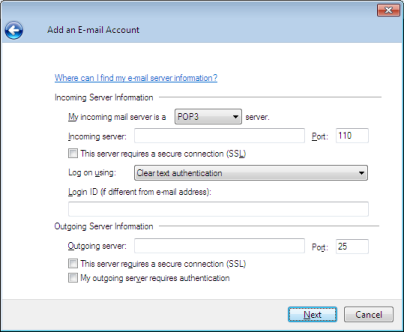
- Enter the Configure server settings:
- The incoming email server type should be set as IMAP
- Incoming Server: imap.bellaliant.net. Enter 143 for port number.
- Login ID: Your email address.
- Outgoing Server: smtpa.bellaliant.net. Enter 2225 for port number.
- Place checkmark on My outgoing server requires authentication.
- Click Next.
-
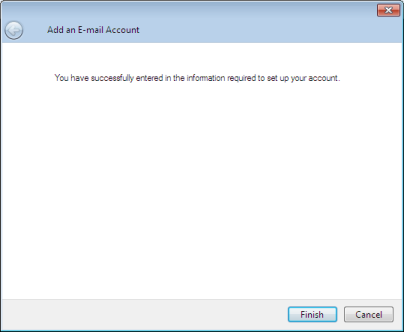
Click Finish.