If youʼre replacing an existing PVR, please note that your recordings cannot be transferred to the new one. They will be lost.
Installation
Installation will take approximately 25 minutes.
Install the wireless receiver
If an Ethernet cable is connected to the back of your existing receiver, you may reuse this cable to set up your 4K Whole Home PVR with a wired connection. If you prefer a wireless connection, do no use the Ethernet cable.
- Disconnect all cables from your existing HD PVR.

- Connect your TV to the the 4K Whole Home PVR to using the HDMI cable that came with it.
Note: If your TV has multiple HDMI ports, make sure that you use one that supports 4K resolution. These may be labelled “4K” or “HDCP 2.2”. If you are unsure, please refer to your TVʼs user guide.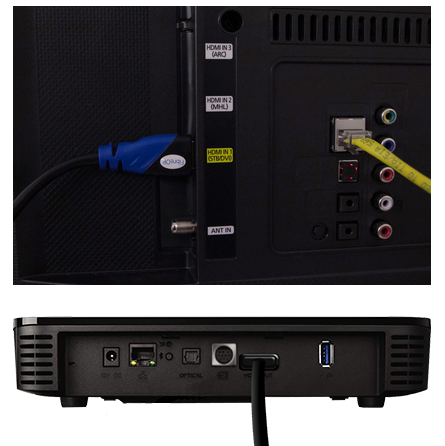
- Connect the power cable that came with your 4K Whole Home PVR in the back, as well as the optical cable, if applicable.
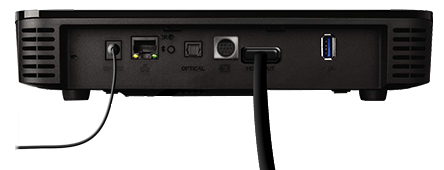
- Connect the other end of the power cable to an outlet. This will turn the 4K Whole Home PVR on.
Note: It is normal for the lights on the PVR to flicker while starting up.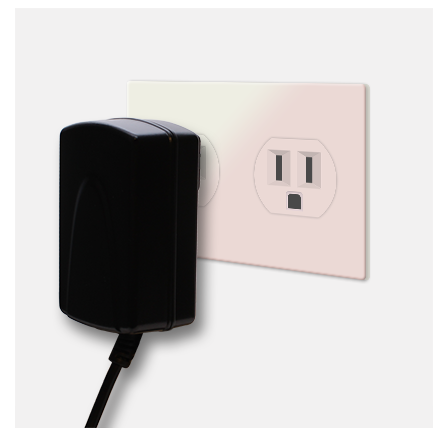
- Turn on your TV and select the HDMI input that matches the connection from step 2 (HDMI 1, HDMI 2 etc.).For more help in selecting your input source, view our Change input source support article.
- Wait up to 5 minutes for the pairing instructions to appear on your TV.
Pair the wireless tv receiver
Before you start, you must complete the installation of your 4K Whole Home PVR.
Reminder: Remember to insert the provided batteries into the back of your remote.
- On the front of Home Hub 3000, confirm that the information light is ON and white.
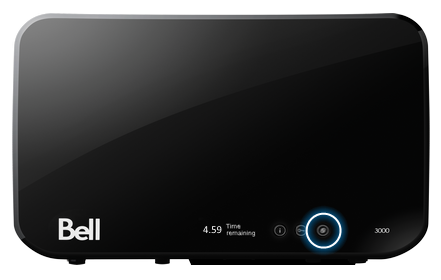
- Turn on the wireless 4K Whole Home PVR and TV. This may take up to two minutes, during which no lights may be visible on the receiver.
Once you see the connection instructions appear on the TV, go to the Home Hub 3000 and confirm that it is powered on.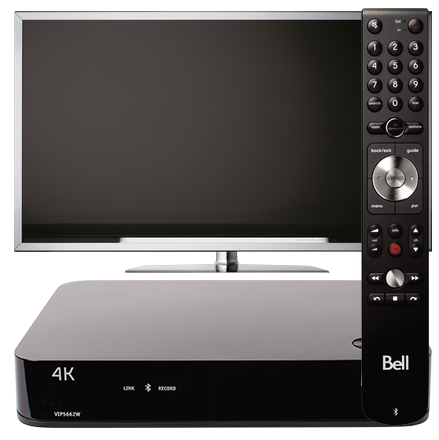
- Press and hold the WPS button on the Home Hub 3000 for 5 seconds until the 5-minute countdown begins.
Note: If you press the WPS button for less than 5 seconds, a 2-minute countdown will begin. The 2-minute countdown is used to connect mobile devices such as tablets and will not work with your Fibe TV receivers. Press the WPS button again to cancel the countdown.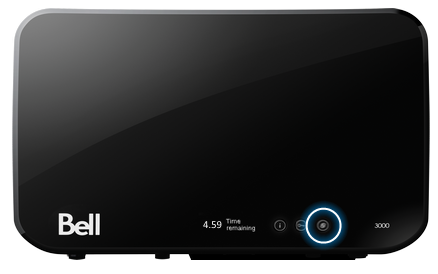
- Within 3 minutes, point the Bluetooth Slim remote toward your PVR and press the Select button.
Wait up to 5 minutes for the receiver to connect. Once connected, your receiver will automatically restart.
Note: It is normal for the lights on the receiver to flicker while restarting.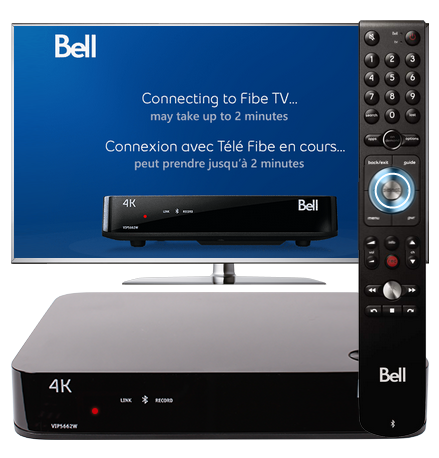
- Wait up to 5 minutes for the PVR to start.
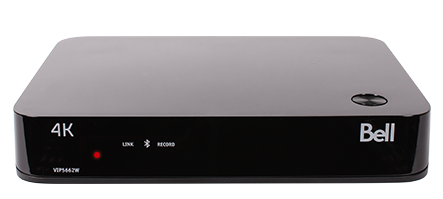
- You will receive a notification on the TV screen once the wireless 4K Whole Home PVR is paired with the Home Hub 3000.
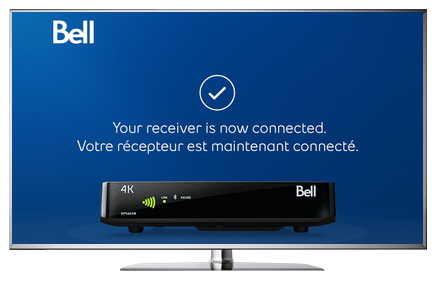
- Wait for the green Connected checkmark to appear on your TV screen.
- Once it appears, press OK on your Fibe remote to start the registration.
- The Client Registration screen displays. Press OK on your remote to begin registering your new PVR.
- Press the right-arrow to bring you to the registration number field.
- Using the number pad on your remote enter the registration number for your receiver. This can be found on the welcome letter in your self-installation kit.
- Press OK on your remote.
- Select Yes / Oui to the question Master PVR / RVP principal.
- Press OK on your remote.
- The Registration / Enregistrement successful screen displays.
- The Fibe Guide will download. This takes may 2-3 minutes to complete.
- Once this process is complete, you will automatically be taken to live TV.
- If you are prompted for a password, enter 1234 with your remote.
Personalize your receiver
You are now ready to personalize your receiver with your settings.
If you are not able to set up the device after following these steps, please contact us.